Apple has recently announced the release of iPadOS (and iOS) 17, which feature several improvements to PDF handling within the Notes app. These new features will make it easier for users to work with PDF files on their iPads and iPhones.
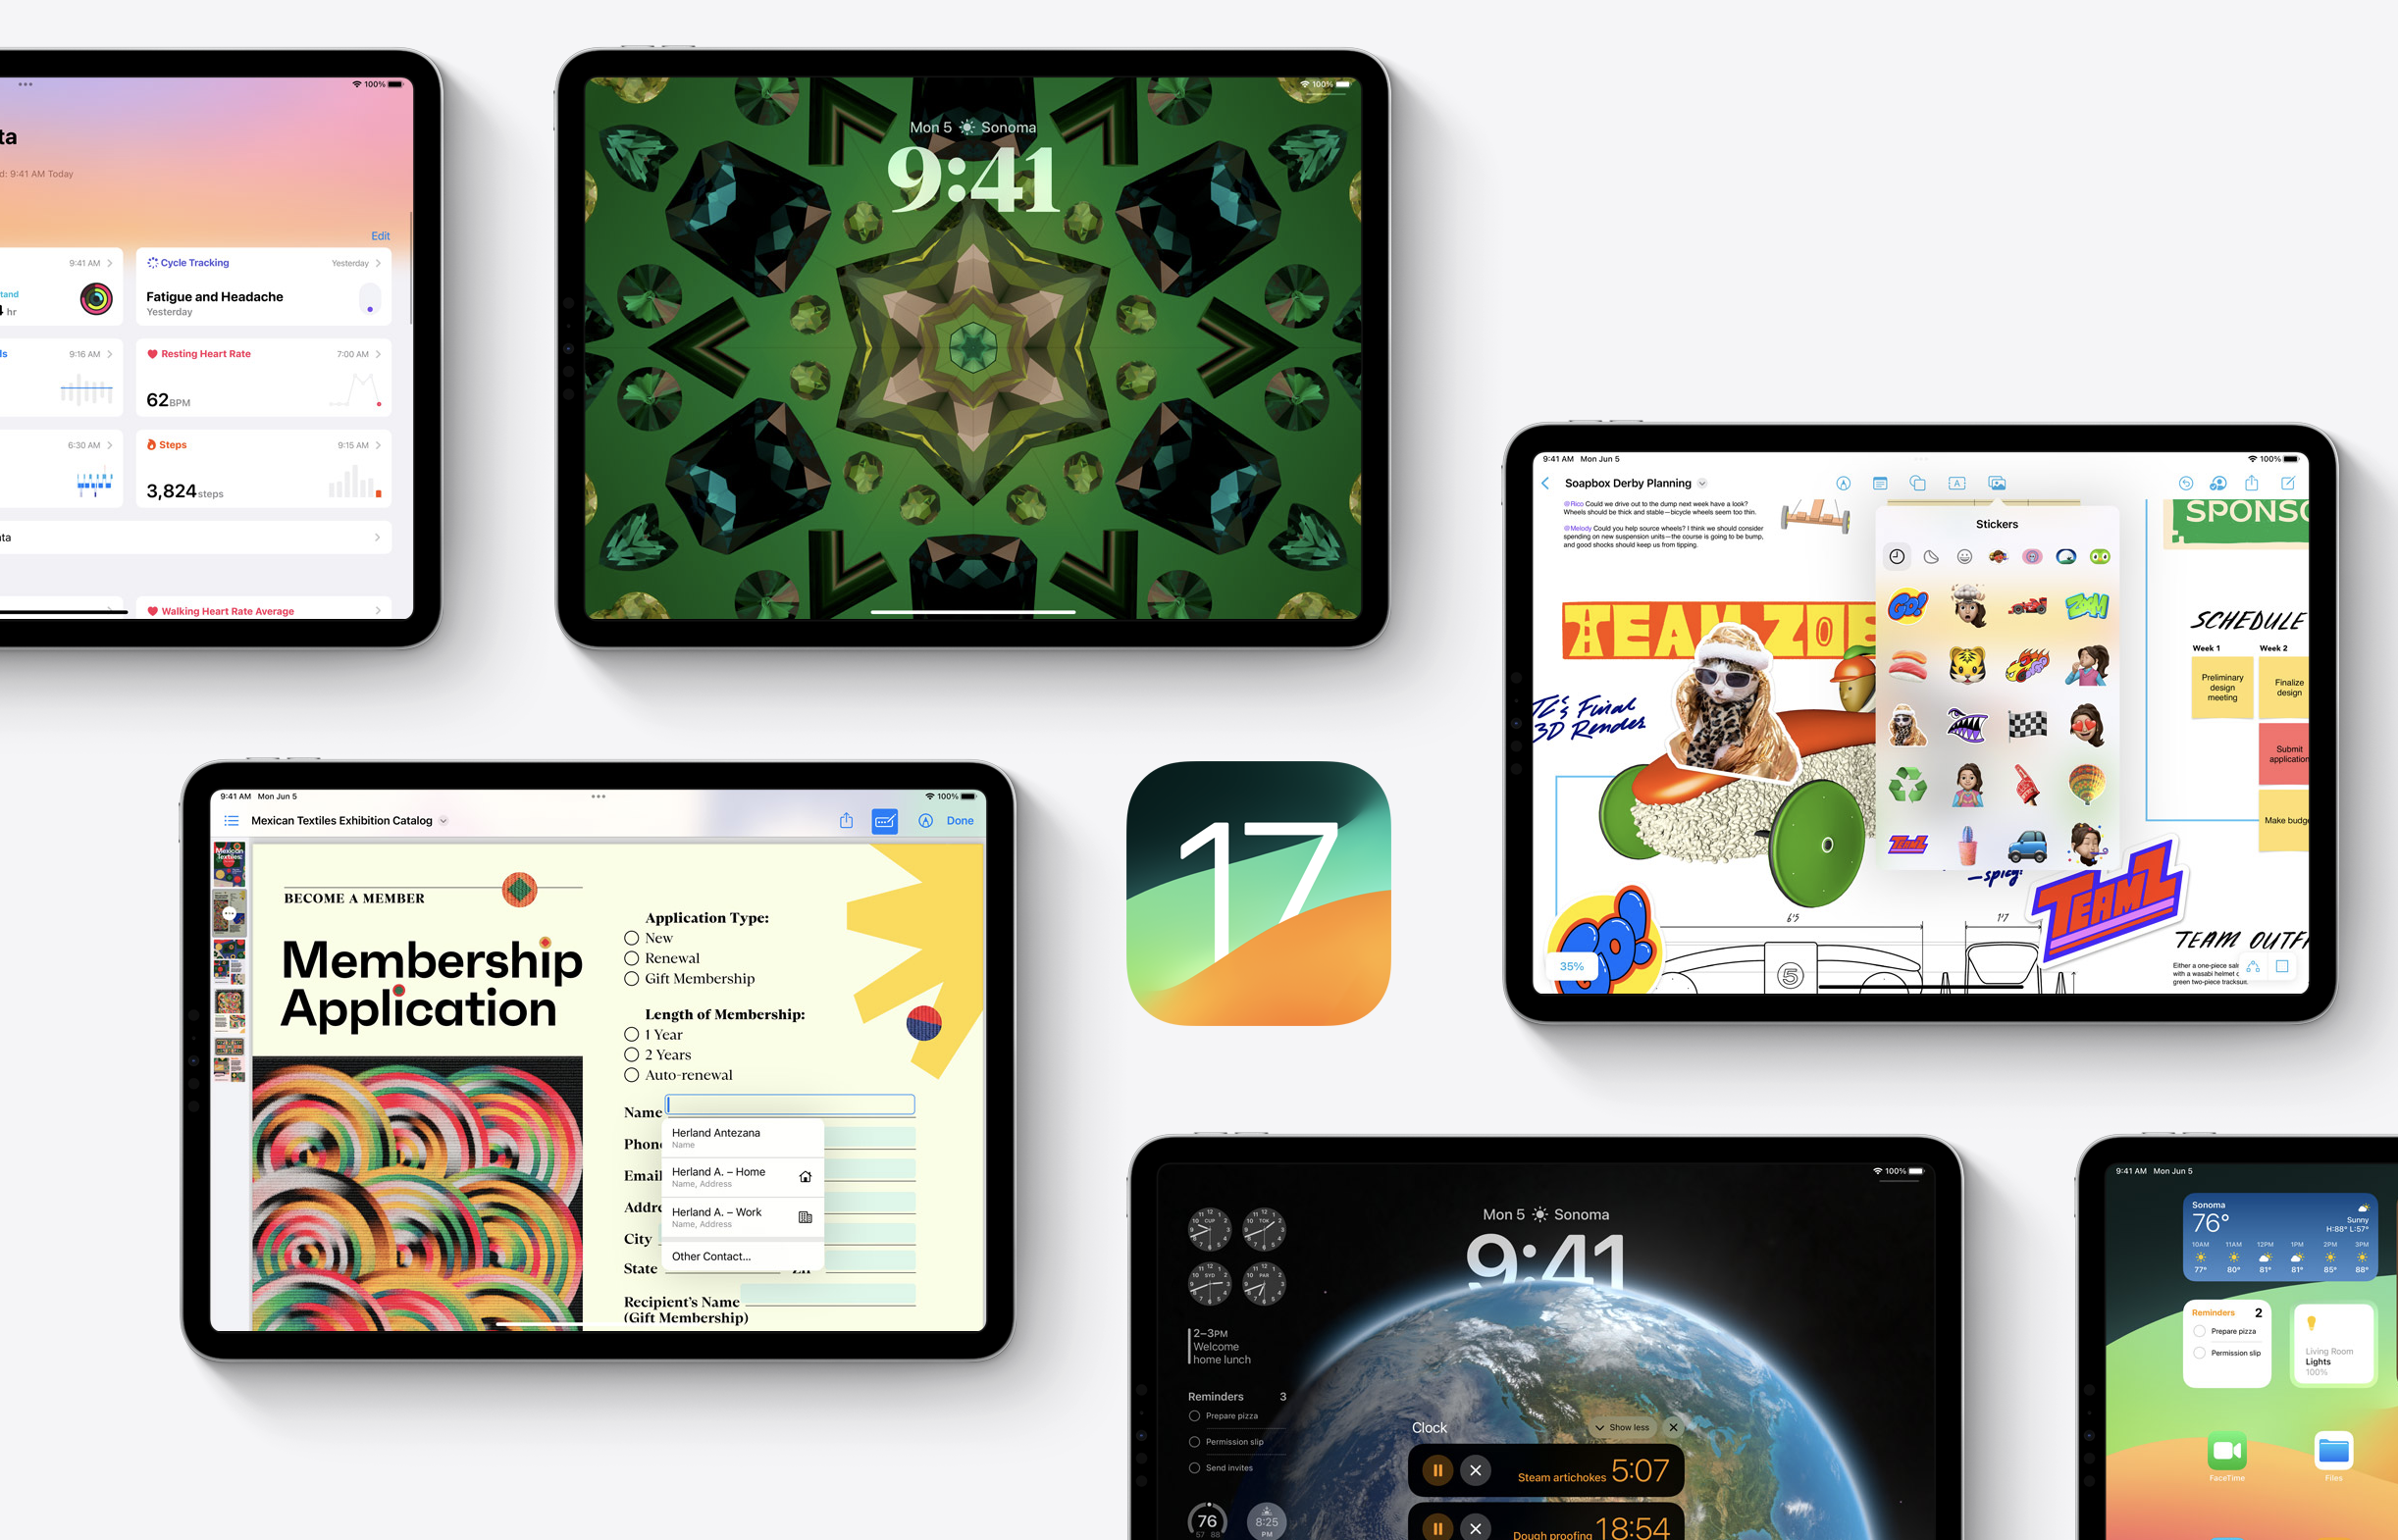
One of the most significant changes in iPadOS 17 is the improved PDF handling. In iPadOS 17, PDFs in the Notes app will appear full width, making it easy to flip through pages, add annotations, or sketch directly in the document using an Apple Pencil. This feature is especially useful for those who frequently work with PDF files on their iPads.

Another new feature in iPadOS 17 is machine learning for PDF fields. This feature allows users to quickly enter information such as names, addresses, and emails from their Contacts into fields in a PDF. This can save time and make working with PDF files more efficient.
Finally, the Notes app will gain the ability to organize PDFs into folders with keywords and tags This feature will allow users to easily find and access their PDF files within the Notes app.
Overall, these new features in iPadOS 17 are designed to make working with PDF files on your iPad easier and more efficient.
iPadOS 17 is expected to be released to the public in the fall of 2023 and includes a plethora of other new features such as:
Lock Screen widgets
Interactive widgets on the Home screen
Free form placement of Windows in Stage Manager
an improved Messages app
Improved Autocorrect
Image copyright Apple.com